
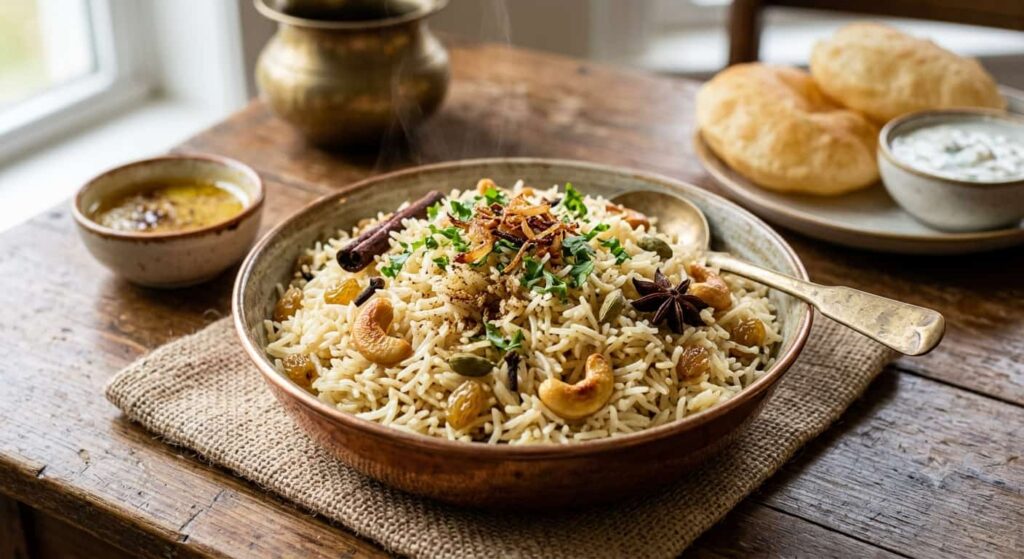
There’s a reason ghee rice shows up at nearly every South Indian wedding, festive lunch, and Sunday family meal. It’s simple -just rice, whole spices, and a generous hand of ghee -but somehow the result tastes far richer than the ingredient list suggests. No onions to caramelize for an hour, no long list of masalas, no complicated technique. Just fragrant, fluffy rice that makes everything you serve it with taste better.
This ghee rice recipe is the one I turn to when I want something that feels a little special but takes almost no effort. It works as a quick lunch, a side for a weekend curry, or even packed into a lunch box the next day. I’ll walk you through the pot method, the pressure cooker method, and the Instant Pot method, so you can make it however suits your kitchen.
What Is Ghee Rice, Exactly?
Table of Contents
Ghee rice -also called Nei Choru or Ghee Bhat in different parts of South India -is basmati rice cooked with whole spices and a good amount of ghee (clarified butter). Unlike biryani, it doesn’t have layers of meat or vegetables mixed in. It’s meant to be a simple, mildly spiced companion to a richer curry, not the star of the plate on its own.
You’ll find it on wedding buffets, in restaurant thali meals, and in plenty of South Indian homes as an easy answer to “what do I make for lunch today.” It’s also one of those rare dishes that both kids and adults genuinely enjoy, which makes it a solid pick for lunch boxes too.
Ingredients for Ghee Rice (Serves 3-4)
Main ingredients:
- 1 cup basmati rice
- 3 tbsp ghee (use good quality; it makes a real difference here)
- 1.5 cups water (adjust based on your rice -see notes below)
- Salt to taste
Whole spices:
- 1-inch cinnamon stick
- 3 cloves
- 2 green cardamom pods
- 1 bay leaf
- 1 star anise (optional, but adds a nice depth)
- 4-5 black peppercorns
For the flavour base:
- 1 small onion, thinly sliced
- 1 green chilli, slit (optional, skip for a kid-friendly version)
- 1 tsp ginger-garlic paste (or finely chopped ginger and garlic)
For garnish:
- 10-12 cashews
- 1 tbsp raisins
- Few sprigs of coriander or mint leaves, chopped
How to Make Ghee Rice: Step-by-Step (Stovetop Method)
Step 1: Wash and Soak the Rice
Rinse the basmati rice 2-3 times under running water until the water runs mostly clear. This removes excess starch and keeps the grains from turning sticky. Soak it in water for 20-30 minutes, then drain completely. This step matters more than people think -soaked rice cooks more evenly and gives you those long, separate grains ghee rice is known for.
Step 2: Fry the Cashews and Raisins
Heat 1 tablespoon of ghee in a heavy-bottomed pan or pot. Add the cashews and fry until golden, then add the raisins and cook just until they puff up, about 20-30 seconds. Remove both and set aside -you’ll use these as garnish at the end.
Step 3: Temper the Whole Spices
In the same pan, add the remaining ghee. Once it’s warm, add the cinnamon, cloves, cardamom, bay leaf, star anise, and peppercorns. Sauté for 20-30 seconds until they turn fragrant. Don’t rush this step, but don’t let them burn either -the whole point of tempering is to let the ghee soak up their aroma.
Step 4: Sauté the Onions
Add the sliced onions and green chilli, and cook until the onions turn soft and lightly golden at the edges -about 4-5 minutes. Stir in the ginger-garlic paste and cook for another 30 seconds until the raw smell disappears.
Step 5: Add the Rice
Add the drained, soaked rice to the pan. Stir gently for a minute so every grain gets coated in the ghee and spices. This step helps the rice hold its shape while cooking instead of turning mushy.
Step 6: Add Water and Cook
Pour in the water and add salt to taste. Give it one gentle stir, then bring it to a boil. Once boiling, lower the heat, cover the pan tightly, and let it cook undisturbed for 12-15 minutes, or until all the water is absorbed and the rice is tender.
Step 7: Rest, Fluff, and Garnish
Turn off the heat and let the rice sit, covered, for 5-10 minutes without opening the lid. This resting time lets the grains firm up so they don’t break when you fluff them. Then, gently fluff the rice with a fork, top with the fried cashews, raisins, and chopped coriander or mint.
Pressure Cooker and Instant Pot Method
If you’d rather use a pressure cooker or Instant Pot, the process up to Step 6 stays the same.
Pressure cooker: After adding water and salt, close the lid and cook on medium flame for 1 whistle. Turn off the heat and let the pressure release naturally before opening.
Instant Pot: Use the sauté function for Steps 2 to 5. Once the rice is added, pour in the water, secure the lid, and pressure cook on high for 5 minutes. Let the pressure release naturally for 10 minutes before opening the valve.
Rice-to-Water Ratio: The One Thing to Get Right
This is where most ghee rice recipes go wrong. The right ratio depends on your rice and cooking method:
| Method | Rice : Water Ratio |
| Stovetop (open pan) | 1 : 1.5 |
| Pressure cooker | 1 : 1.25 |
| Instant Pot | 1 : 1 |
Older, aged basmati rice generally needs a little more water than newer rice, so it’s worth adjusting slightly the first time you try a new bag.
What to Serve with Ghee Rice
Ghee rice is deliberately mild, which is exactly why it works so well with bolder dishes:
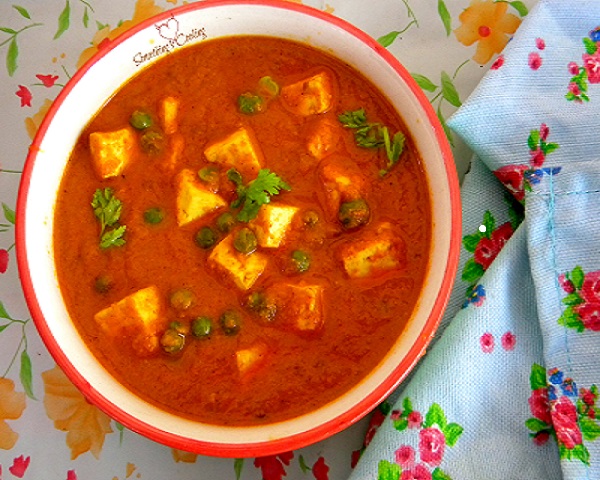
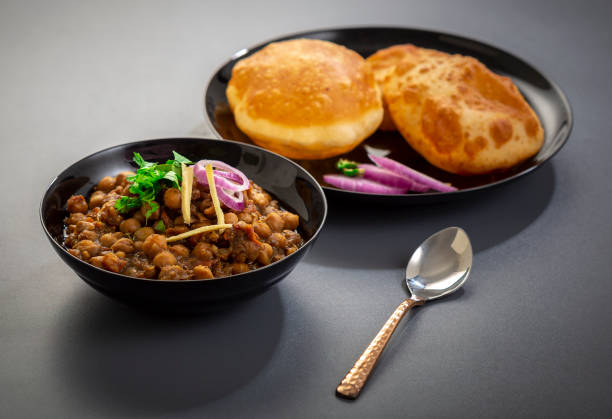
- Vegetable kurma or a coconut-based veg curry
- Chicken curry or mutton curry, if you’re not keeping it vegetarian
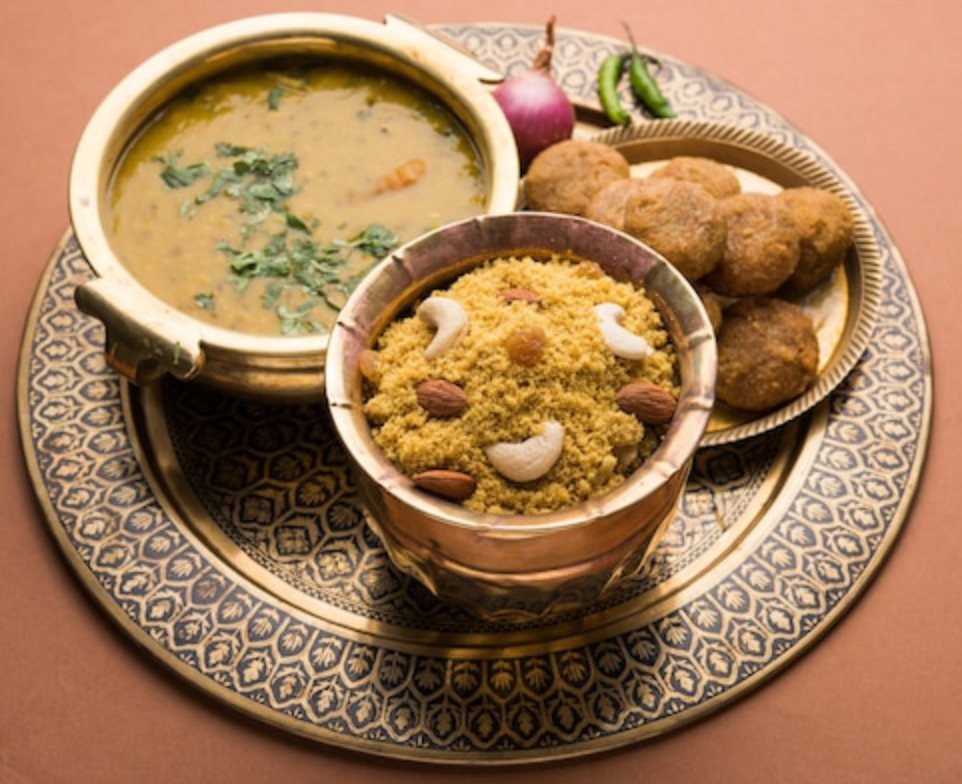
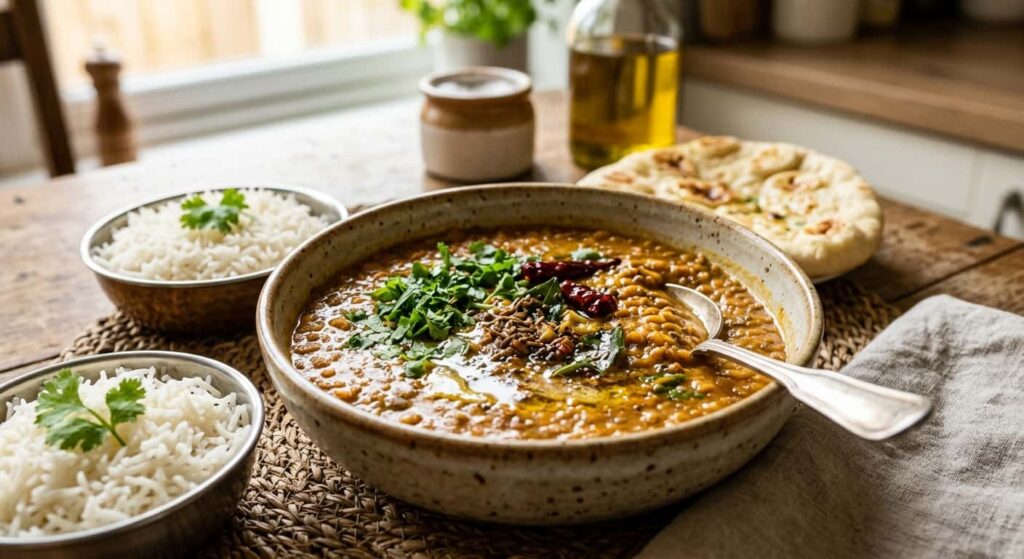
- Simple dal with a dollop of ghee on top
- Onion raita or plain curd
- Mango pickle or lemon pickle on the side
For a quick lunch box option, pack it with a small portion of curry or even just raita -it holds its texture well for a few hours and doesn’t turn soggy the way some rice dishes do.
Tips for Perfect Ghee Rice Every Time
- Use aged basmati rice if you can find it. It holds its shape better and gives longer, fluffier grains than fresher rice.
- Don’t skip the soaking step. It’s only 20-30 minutes, but it makes a visible difference in how separate and fluffy the final rice turns out.
- Resist opening the lid while it cooks. Every time you lift the lid, steam escapes, and that throws off your water ratio.
- Use real ghee, not a ghee-flavoured substitute. Since this dish has so few ingredients, the quality of the ghee genuinely shows up in the final taste.
- Let it rest before fluffing. Fluffing hot, freshly cooked rice too early breaks the grains and makes it mushy.
- Fry the cashews and raisins separately rather than tossing them in raw. It only takes a minute but adds a lot to both texture and flavour.
Common Mistakes to Avoid
- Adding too much water. Ghee rice should be fluffy and separate, not sticky or clumped together. When in doubt, use slightly less water -you can always add a splash more if it’s undercooked.
- Skipping the rice wash. Unwashed rice has extra surface starch that makes the final dish gummy.
- Rushing the onion sauté. Under-cooked onions leave a raw, sharp taste that doesn’t match the mellow flavour ghee rice is known for.
- Using cold or unmelted ghee for tempering. Ghee needs to be warm and slightly runny to properly release the aroma of the whole spices.
- Stirring the rice too much while it cooks. Basmati grains are delicate. Stir once when you add the water, then leave it alone until it’s done.
Variations to Try
- Vegetable ghee rice: Add a cup of mixed vegetables like carrots, peas, and beans along with the onions for a more filling, one-pot meal.
- Seeraga samba ghee rice: Popular in Tamil Nadu, this short-grain fragrant rice gives a slightly different texture and works especially well in the wedding-style version of this dish.
- Coconut milk ghee rice: Replace half the water with coconut milk for a richer, slightly sweet version.
- Mint ghee rice: Add a handful of chopped mint leaves along with the coriander for extra freshness.
- Restaurant-style version: Add a pinch of turmeric while sautéing the onions for a light golden colour, similar to what you’ll often see on restaurant menus.
Storage and Reheating
- Refrigerator: Store cooled ghee rice in an airtight container for up to 2 days.
- Freezer: Freezes reasonably well for up to a month, though the texture is best enjoyed fresh or within a day or two.
- Reheating: Sprinkle a few drops of water over the rice and microwave in short 30-second bursts, fluffing between each, or reheat in a pan on low heat with a small knob of ghee to bring back the moisture and aroma.
Frequently Asked Questions
Pulao usually includes vegetables or meat cooked along with the rice and often uses a broader range of spices. Ghee rice is simpler -just whole spices, onions, and ghee -and is meant to be paired with a separate curry rather than eaten on its own.
Yes. Skip the onions, ginger, and garlic, and just temper the whole spices in ghee before adding the rice. It’ll be a bit milder, but still fragrant and delicious.
Basmati rice is the most common choice for its long grains and fragrance, but seeraga samba rice (used often in Tamil Nadu and Kerala) is a traditional alternative that gives a slightly nuttier taste.
You can, but the flavour won’t be quite the same. Ghee has a nutty, slightly caramelized taste that butter doesn’t replicate, and it also has a higher smoke point, which helps when tempering whole spices.
Ghee rice is fairly light compared to biryani since it doesn’t have added meat, heavy gravies, or excess oil. Ghee itself, used in moderation, is a good source of healthy fats. As with most rice dishes, portion size is what matters most.
This usually comes down to too much water, over-stirring while it cooks, or not soaking the rice beforehand. Stick to the ratios above and give the rice time to rest after cooking, and you should get fluffy, separate grains.
Yes, ghee rice is one of the better lunch box rice dishes since it doesn’t dry out quickly or turn overly sticky. Pack it slightly warm, and it’ll hold well for a few hours.
A Simple Dish That Never Gets Old
Ghee rice proves that you don’t need a long ingredient list to make something genuinely delicious. It’s the kind of recipe you’ll end up making on repeat -quick enough for a weekday lunch, but good enough to serve when you have guests over. Pair it with a good curry, and you’ve got a meal that feels far more special than the effort it took to make.

Meena Devi is a home cook and recipe creator who has been cooking and sharing traditional Indian recipes since 2005. With years of hands-on experience in the kitchen, she loves turning everyday ingredients into simple, flavorful dishes that anyone can make at home.
Her recipes are based on tried-and-tested cooking methods, family favorites, and the everyday food she has prepared over the years. Through Sawad India Ka, Meena shares practical recipes, helpful cooking tips, and the flavors she grew up with.