
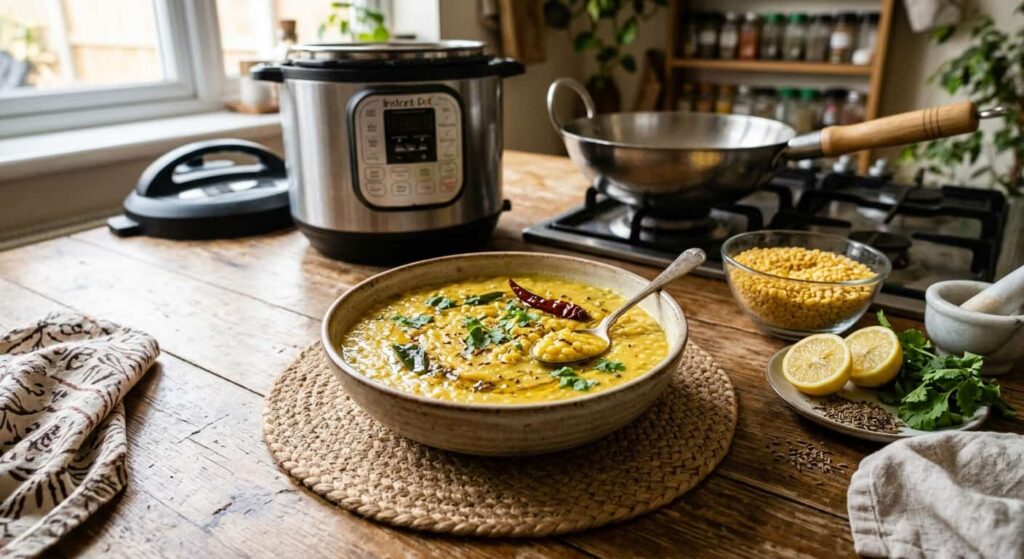
If there’s one dish that saves me on a busy weeknight, it’s this moong dal recipe. It’s the kind of food that doesn’t ask much from you -no long ingredient list, no fancy technique, no standing over the stove for an hour -but it still turns out warm, comforting, and genuinely tasty every single time.
This yellow moong dal tadka is the version you’ll find in most North Indian kitchens: soft, buttery lentils simmered with turmeric, finished with a sizzling tempering of cumin, garlic, and dried red chilies. It’s light on the stomach, packed with plant protein, and pairs with everything from steamed rice to soft phulkas.
Whether you’re new to Indian cooking or just want a reliable dal recipe you can make without thinking twice, this one’s for you. I’m sharing both Instant Pot and stovetop (pressure cooker) methods, so pick whichever suits your kitchen.
What Is Moong Dal?
Table of Contents
Moong dal comes from mung beans (green gram) that have been split and skinned, which gives you those small, bright yellow lentils you see in Indian grocery stores. It cooks faster than most other dals, doesn’t need long soaking, and is considered one of the easiest lentils to digest -which is why it’s often the first dal given to babies, elderly people, or anyone recovering from an illness.
You’ll sometimes see two other forms of moong dal in stores:
- Split yellow moong dal (dhuli moong dal) – skin removed, split in half, pale yellow. This is what we’re using today.
- Moong dal chilka – split but with the green skin still on.
- Whole green moong (sabut moong) – the whole, unsplit bean, which takes longer to cook.
For this recipe, stick with the plain yellow split moong dal -it’s the most commonly available and cooks the fastest.
Why This Recipe Works
- Ready in under 30 minutes, start to finish, including the tempering.
- One-pot cooking -fewer dishes to wash.
- Works in Instant Pot, pressure cooker, or a regular pot on the stovetop.
- Naturally vegan and gluten-free, and easy to make oil-free if needed.
- It’s a genuinely kid-friendly and beginner-friendly dal -mild, not too spicy, and hard to mess up.
Ingredients You’ll Need
This makes about 3 to 4 servings. Exact measurements below.
For the dal:
- 1 cup split yellow moong dal
- 3 cups water (for pressure cooking; add more later to adjust consistency)
- 1/2 teaspoon turmeric powder
- 1 small tomato, chopped
- 1 green chili, slit (optional, adjust to taste)
- Salt, to taste
For the tadka (tempering):
- 2 tablespoons ghee or oil
- 1 teaspoon cumin seeds
- A pinch of mustard seeds (optional)
- 4 to 5 garlic cloves, finely chopped or crushed
- 1/2 inch ginger, finely chopped
- 1 dried red chili
- A pinch of asafoetida (hing)
- 1/2 teaspoon red chili powder
- A few curry leaves (optional, but adds a nice South Indian touch)
To finish:
- Fresh coriander leaves, chopped
- A squeeze of lemon juice
How to Make Moong Dal (Stovetop / Pressure Cooker Method)
- Rinse the dal. Wash the moong dal in a bowl under running water 2 to 3 times, until the water runs mostly clear. This removes excess starch and any dust. No long soaking needed -10 minutes is enough if you have the time, but you can skip it entirely if you’re in a hurry.
- Pressure cook the dal. Add the rinsed dal to a pressure cooker along with 3 cups water, turmeric, chopped tomato, green chili, and salt. Close the lid and cook on medium heat for 3 to 4 whistles, or until the dal turns soft and mushy. Turn off the heat and let the pressure release naturally.
- Check the consistency. Open the cooker and give the dal a good stir or a light mash with the back of a spoon. If it looks too thick, add a splash of hot water and simmer for 2 to 3 minutes until you get the consistency you like.
- Prepare the tadka. In a small pan, heat ghee or oil on medium heat. Add cumin seeds and mustard seeds, and let them sputter. Add the garlic, ginger, dried red chili, and curry leaves. Sauté for 30 to 40 seconds until the garlic turns light golden and fragrant -don’t let it burn, or the tadka will taste bitter.
- Add the spices. Lower the heat, add asafoetida and red chili powder, and stir for a few seconds. Turn off the flame immediately after this -red chili powder burns fast.
- Combine and simmer. Pour the hot tadka over the cooked dal. Stir well and let it simmer for 2 to 3 minutes on low heat so the flavors blend in.
- Finish and serve. Garnish with fresh coriander and a squeeze of lemon juice. Serve hot.
How to Make Moong Dal in the Instant Pot
- Turn the Instant Pot to Sauté mode. Add ghee, cumin seeds, and mustard seeds. Once they sputter, add garlic, ginger, and dried red chili, and sauté for about a minute.
- Add the rinsed moong dal, turmeric, chopped tomato, green chili, salt, and 2.5 cups water. Give it a stir, scraping the bottom to release any stuck bits.
- Close the lid, set the valve to sealing, and cook on Manual/Pressure Cook mode for 8 minutes.
- Let the pressure release naturally for 10 minutes, then release any remaining pressure manually.
- Open the lid, stir well, and adjust the consistency with hot water if needed. Turn on Sauté mode for a 2-minute simmer if the dal looks too thin.
- Garnish with coriander and lemon juice, and serve.
Tip: If you prefer to prepare the tempering separately and pour it over the dal at the end (like in the stovetop method), that works too -it gives a slightly stronger tadka flavor since the oil doesn’t cook down with the dal.
Cooking Time At a Glance
| Method | Prep Time | Cook Time | Total Time |
| Pressure Cooker | 5 mins | 20 mins | 25 mins |
| Instant Pot | 5 mins | 20 mins (incl. pressure build-up) | 25 mins |
| Regular Pot (no cooker) | 10 mins (soaking) | 30–35 mins | 40–45 mins |
If you don’t own a pressure cooker or Instant Pot, soak the dal in hot water for 30 minutes first, then simmer it in a covered pot for 30 to 35 minutes, stirring occasionally, until soft.
Serving Suggestions
Moong dal is one of those dishes that fits into almost any Indian meal:
- Serve it with steamed basmati rice and a spoon of ghee on top for the simplest comfort meal.
- Pair it with roti or phulka for a light, everyday dinner.
- Turn it into a khichdi by cooking it together with rice, cumin, and a bit of ghee.
- Add a side of papad, pickle, and sliced onions for a proper thali-style meal.
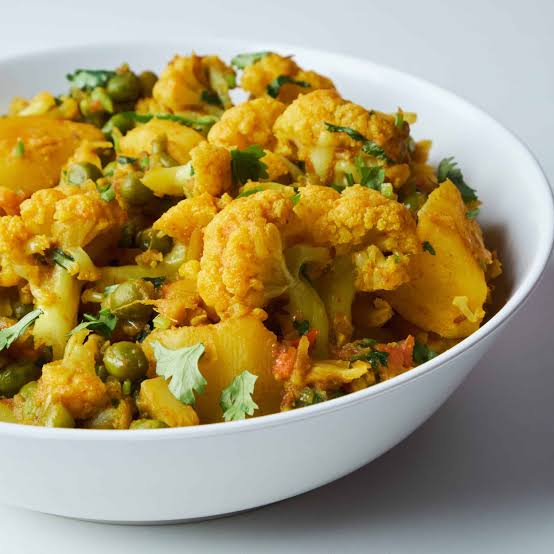
- For a heartier meal, serve alongside a dry vegetable sabzi like bhindi or aloo gobi.
Tips for the Best Moong Dal
- Don’t skip rinsing the dal -it removes surface starch and helps the dal cook up smoother instead of foamy.
- Don’t overdo the turmeric. A little goes a long way; too much can make the dal taste slightly bitter.
- Adjust consistency at the end, not the beginning. It’s easier to thin out a thick dal with hot water than to thicken a watery one.
- Use hot water, not cold, when adjusting consistency -cold water can make the dal taste flat and dull the flavors.
- Let the tadka sizzle properly. The tempering is what gives this dal its character, so don’t rush this step or use low heat for it.
- Add lemon juice only after turning off the heat. Cooking it further can make the dal taste slightly sour in an unpleasant way.
Common Mistakes to Avoid
- Burning the garlic in the tadka. Burnt garlic turns bitter and ruins the whole pot. Keep the heat medium and your eyes on the pan.
- Adding chili powder to very hot oil. It burns within seconds and turns dark and bitter. Lower the heat before adding it.
- Skipping the rinse. This leads to a slightly gritty texture and a starchy smell in the finished dal.
- Overcooking to a paste. Moong dal should be soft and creamy, not turned into a completely smooth purée -you still want a little texture.
- Adding salt too early with hard water. In some cases, this can slightly slow down the softening of lentils. If your dal is taking unusually long to cook, add salt after the dal is nearly done.
Variations You Can Try
- Dhaba-style moong dal fry: Add a chopped onion to the tadka along with the garlic and ginger, and sauté until golden before adding tomatoes. This gives a richer, more restaurant-style flavor.
- Palak moong dal: Stir in a cup of chopped spinach during the last 5 minutes of cooking for an iron-rich twist.
- Moong masoor dal: Mix in a handful of masoor dal (red lentils) along with the moong for a slightly different texture and taste.
- South Indian style: Add curry leaves and a pinch of hing to the tadka, and finish with a dash of coconut oil instead of ghee.
- No onion, no garlic version: Skip the onion and garlic entirely and use just ginger, cumin, and hing in the tempering -a common Jain or satvik variation.
- Spicier version: Add an extra green chili and a pinch of garam masala right before serving.
Health Benefits of Moong Dal
Moong dal is a regular feature in Indian homes for good reason. It’s rich in plant-based protein and fiber, low in fat, and easy on digestion compared to heavier dals like chana or urad. It’s often recommended during recovery from illness, for weight-conscious diets, and for anyone looking for light, wholesome meals. Because it cooks quickly and doesn’t need heavy spicing, it’s also one of the better options for anyone just starting to explore healthy Indian recipes.
Storage Instructions
- Refrigerator: Store cooled moong dal in an airtight container for up to 3 days. Reheat on the stovetop or microwave, adding a splash of water if it has thickened.
- Freezer: Moong dal freezes well. Freeze in a freezer-safe container or bag for up to 2 months. Thaw overnight in the fridge before reheating.
- Reheating tip: Dal thickens as it sits, so always add a little hot water while reheating to bring back the original consistency, and check the salt again after adding water.
Frequently Asked Questions
Not necessarily. Since it’s a small, split lentil, it cooks fairly quickly even without soaking. A quick 10 to 15-minute soak can help it cook slightly faster and more evenly, but it’s not compulsory like it is for some whole lentils or beans
Usually 3 to 4 whistles on medium heat is enough for soft, well-cooked moong dal. If you like it very mushy, like for khichdi, you can go up to 5 whistles.
Yes. Simply skip the onion and garlic in the tempering and use ginger, cumin seeds, and a pinch of hing instead. The dal will still taste flavorful, just slightly milder.
Moong dal is smaller, lighter in texture, and cooks faster than toor dal (split pigeon peas). Toor dal has a thicker, slightly starchier consistency and a stronger flavor, while moong dal is milder and easier to digest.
Moong dal is low in fat and high in protein and fiber, which helps keep you full for longer. It’s often included in weight-conscious and post-illness diets for this reason, though results depend on your overall diet and portion sizes.
Yes. Reduce the water slightly and mash the cooked dal a bit more with the back of a spoon or a whisk to get a thicker, more cohesive texture suited for khichdi.
This usually happens if too much water was added at the start. Simply simmer the dal uncovered on low heat for a few extra minutes to let some of the water evaporate and the consistency thicken up.
This moong dal recipe is one I go back to on the days I don’t want to spend too much time in the kitchen but still want something homely and satisfying on the table. Once you get the tadka technique down, you’ll find yourself making this dal on repeat -it really is that simple, and that good.
If you try this recipe, I’d love to hear how it turned out for you. Happy cooking!

Meena Devi is a home cook and recipe creator who has been cooking and sharing traditional Indian recipes since 2005. With years of hands-on experience in the kitchen, she loves turning everyday ingredients into simple, flavorful dishes that anyone can make at home.
Her recipes are based on tried-and-tested cooking methods, family favorites, and the everyday food she has prepared over the years. Through Sawad India Ka, Meena shares practical recipes, helpful cooking tips, and the flavors she grew up with.